How To Reset/Update CentOS 8 Root Password
Resetting the password in a CentOS 8 server is much the same as resetting a password on a CentOS 7 server. It’s easy to forget a root password but, you could forget about passwords and use an SSH Key to access your instance. Adding an SSH Key to your Discovery control panel is easy. With a simple reboot, it is automatically deployed to your instance.
Step 1 – Reboot Instance
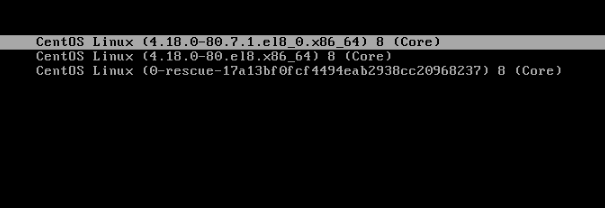
We’re going to use the NoVNC console to access a CentOS 8 VPS Server and update the root password. So, from your Discovery control panel click the NoVNC icon. The login console is displayed. Click the gear icon on the left and reboot your instance. When you see the list of Kernels, press the up arrow to stop the boot.

Edit Boot Settings
Press the “e” letter when the top Kernal is selected. Look for the section that starts “to“.

So next, follow the below points in order. We’re going to update the boot options in your NVMe Server to boot to a console so we can update the root password.
- Change “ro” to “rw” and add “init=/sysroot/bin/sh” right after the change. Make sure there is a space between ro and init. The line will look like “ro init=/sysroot/bin/sh“
- Hit CNRTL + x to reboot the instance
Reset/Update CentOS 8 Root Password
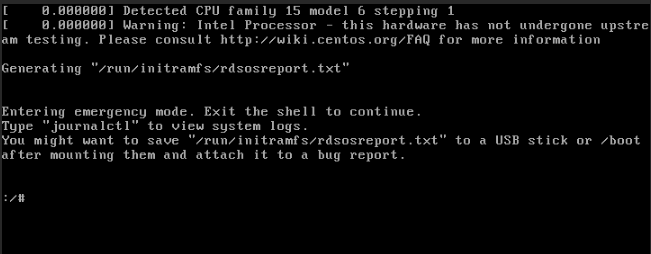
So, now the server is booted into single-user mode and you should see the console like in the image below. Next, it’s time to update the password.

Next, mount the hard drive in read-write mode using the below command.
chroot /sysrootSo now you can now set a new root password. Issue the passwd command.
passwdBut, because we have made changes to the password file we must tell SELinux about this. If you do not perform the next step you will not have access to your instance.
touch /.autorelabel
exit
reboot
Upon reboot, you can now use the new root password to access the instance.

