


A Proxmox private network or Proxmox internal network allows you to assign an internal IP to VMs and Containers. This is useful if you do not have any public IPs. Usually, you would use this on a home setup if you had installed Proxmox VE locally. Or, you could use an internal IP for a DHCP server. Internal IPs for VMs and Containers have many uses. In this guide, we will configure a private network interface and then configure our networking to allow Containers and VMs to access the outside world using the host’s IP address.
Let’s configure a private network on vmbr1 which includes 10.210.250.0/24 for the address. We are running PVE in a bridge environment so, for any guests with internal IPs we will need to forward the connection to the main bridge on vmbr0.
Configure Proxmox Private Network Interface
Open up the interfaces file and add your private network. This assumes you want to use the internal network 10.210.250.0/24. You can change this to another IP range like 192.168.0.1/24.
Use ip a to get the correct vmbr0 interface name. Ours is enp33s0f1. Replace the bridge-ports section with your physical adapter’s name.
nano /etc/network/interfacesauto vmbr1
iface vmbr1 inet static
address 10.210.250.1
netmask 255.255.255.0
bridge-ports enp33s0f1
bridge-stp off
bridge-fd 0
bridge-vlan-aware yes
bridge-vids 2-4094
post-up echo 1 > /proc/sys/net/ipv4/ip_forward
post-up iptables -t nat -A POSTROUTING -s '10.210.250.1/24' -o vmbr0 -j MASQUERADE
post-down iptables -t nat -D POSTROUTING -s '10.210.250.1/24' -o vmbr0 -j MASQUERADERestart the networking with service networking restart or reboot the host.
Create a VPS With a Private IP
Now, in the Proxmox GUI add a new container. In the network settings specify the IPv4 of the container. This will be an IP from your internal network pool. In our example, you can see we have used 10.210.250.78. But remember, when creating the CT the gateway is the main IP of your vmbr1 interface which you configured in the previous step. 10.210.250.1 in our example.
auto vmbr1
iface vmbr1 inet static
        address 10.210.250.1
        netmask 255.255.255.0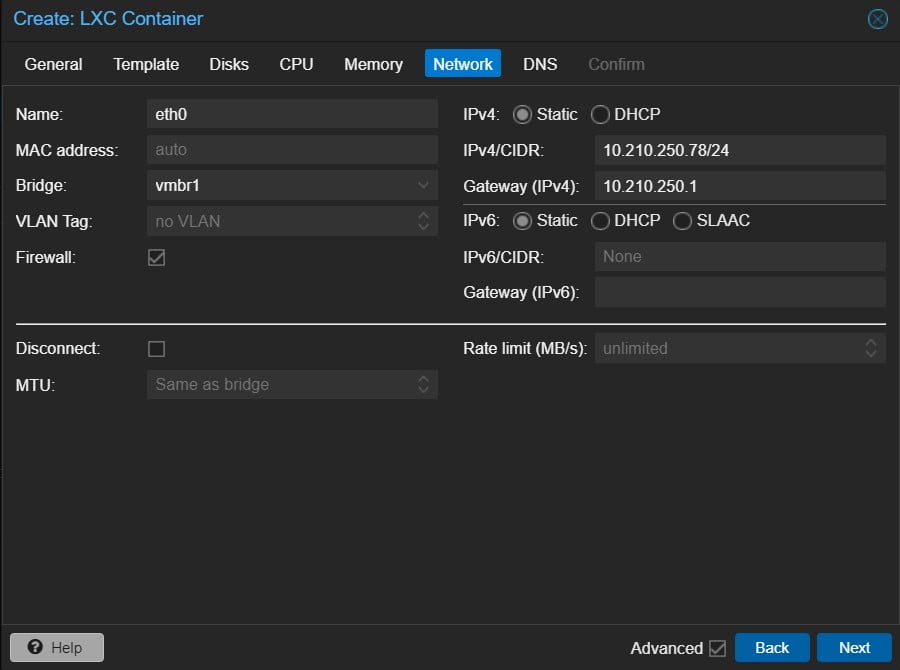
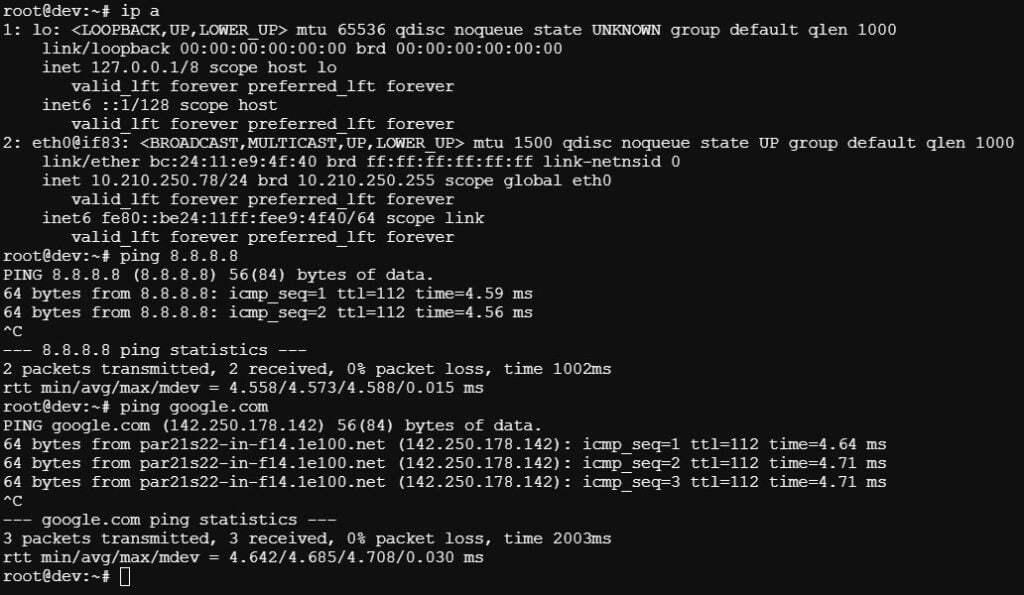
Once configured start the container and enter it with pct enter CTID. You should now be able to ping the outside world but If you can’t, go back to the “Network” tab for the CT and untick the “Firewall” option shown above. Reboot the CT and try again.
That’s it. The internal network is now configured and ready for use.