How to install MySQL 8 on Ubuntu 22 LTS and configure your first database
The next LTS version of Ubuntu is now available for download and we are going to install MySQL 8 Ubuntu 22 LTS. If you are following our guide on how to replicate MySQL databases with MySQL Replication. You need to follow this guide first to install and configure MySQL. Installation of MySQL is quick and simple. In a few commands, you can have a MySQL server configured and running.
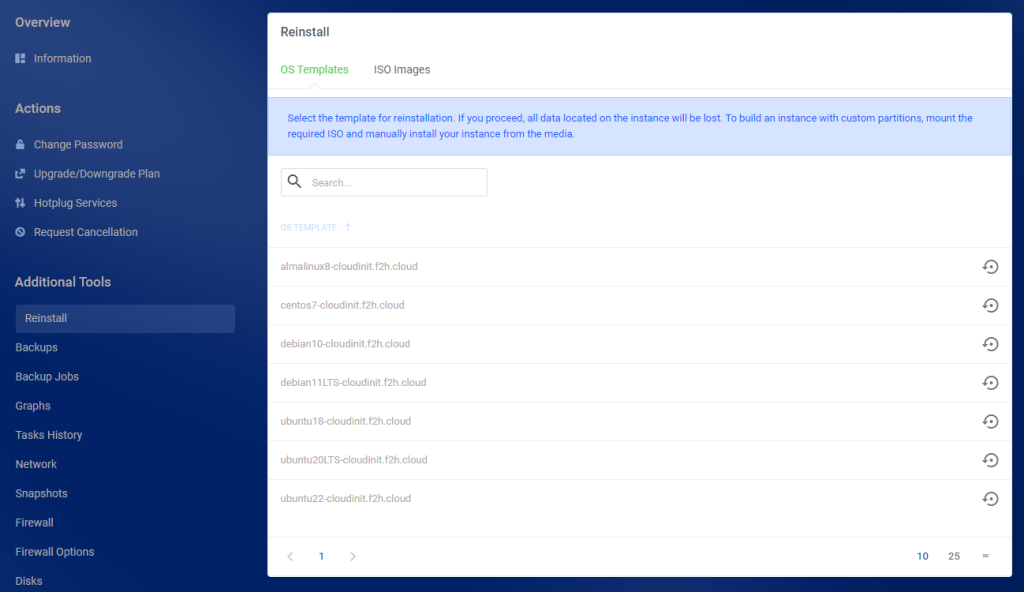
You may run MySQL on a VPS or Dedicated Server. Depending on how busy your database server will be an NVMe VPS should be sufficient and, you could scale this as required. You can use the Ubuntu 22 template in the client area.

Install MySQL 8 – Ubuntu 22 LTS
To start, log in as the root user or a user with root privileges and issue the below commands. These update the server and install the latest version of MySQL.
apt update && apt upgrade -y

apt install mysql-server
Configure MySQL
Now that MySQL is installed, you will want to run the mysql_secure_installation script. But, before you can run this script we should set a root password for MySQL. If you don’t do this, you will see an error in the console when trying to set the password.
Set MySQL Root Password
To set the root password for MySQL, log in with the mysql command and run the ALTER command. Replace PASSWORD with your password.
# Log in to MySQL

mysql

# Set Root Password

ALTER USER 'root'@'localhost' IDENTIFIED WITH mysql_native_password by 'PASSWORD';
Secure MySQL
And now you can run the script to secure MySQL. As you have already created a root password, you will be asked for it again.
# Secure MySQL

mysql_secure_installation

> Would you like to setup VALIDATE PASSWORD component = N
> Change the password for root = N
> Remove anonymous users = Y
> Disallow root login remotely = N
> Remove test database and access to it = Y
> Reload privilege tables now = Y
If you want to replicate a database to a slave using MySQL Replication, do not disable remote logins when running this script. If you are following the MySQL Master-Master replication guide. You can go back to that article after this step.
That’s it. You now have MySQL 8 installed on a Ubuntu 22 LTS NVMe VPS Server. Next, we will create a database and assign a user to that database.
Create MySQL Database And User
Finally, you will want to create a database and assign a user to it. Log in as the root user and run the commands to complete this. You will be asked for the root password you set above.
mysql -u root -pNow, create a new database.
CREATE DATABASE Example;Make sure you change Example for your database name. Next, create a user and assign it to the database you just created.
CREATE USER 'USER'@'%' IDENTIFIED BY 'PASSWORD';
GRANT ALL PRIVILEGES ON *.* TO 'USER'@'%' WITH GRANT OPTION;
flush privileges;
Here you are changing the ‘USER’ and ‘PASSWORD’ sections for your own values. So that is the process complete. In this guide, you have installed MySQL 8 on a server using Ubuntu 22 LTS. We have secured MySQL, created a new database and assigned a user to that database. You could now log in with that user using the mysql -u USER -p command to confirm all is working.

