


The ELRepo repository contains two Kernel versions for CentOS 7. Kernel-lt and Kernel-ml. Both of these Kernels are fine to use for production servers. One provides long-term support the other provides newer features and is updated more often.
Kernel-lt – Long-Term Support Kernel
Kernel-ml – Mainline Stable VersionIn this article
We will install both versions to one of our KVM NVMe VPS Servers and show you how to switch between both. You do not need to install both Kernels in a production environment. You need access to the internal KVM/IP console to complete a Kernel update. If you do not know how to do this check out the guide above before you continue.
rpm --import https://www.elrepo.org/RPM-GPG-KEY-elrepo.orgAdd the ELRepo Repository
Now you need to add the ELRepo repository to your server, this is where the Kernels are located.
rpm -Uvh http://www.elrepo.org/elrepo-release-7.0-3.el7.elrepo.noarch.rpm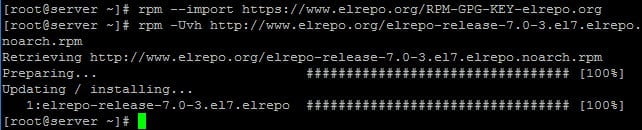
Now check your current Kernel with the below command. You should be using V3 Kernel which is 3.10.0-1127.18.2.el7.x86_64.
uname -rUpdate CentOS 7 Kernel-lt
yum --enablerepo=elrepo-kernel install kernel-ltInstall Mainline CentOS 7 Kernel-ml
yum --enablerepo=elrepo-kernel install kernel-mlOnce the installation is complete your new Kernel will be ready to use but to automatically boot to the new Kernel we need to make some changes to the existing boot options. First, reboot your server and ensure you reboot it from the HTML5 Console by clicking the “Send CNTL+ALT+DEL” button.

When the boot screen loads press the up arrow to cancel automatic boot. Here you can see a list of Kernels installed to your server. At the top, you will see your new Kernel.
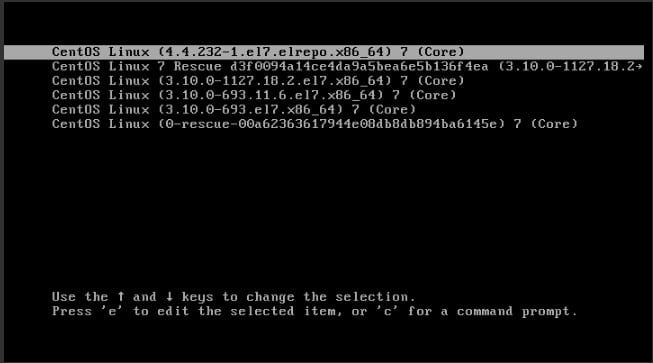
The order of these Kernels is important. They order from 0 to 5. The top entry is 0 and the last entry is 5. So the long-term support Kernel we just installed is entry 0. Reboot your server by clicking the send Send “CNTL+ALT+DEL” button again and allow it to boot as normal into your old Kernel. Log back in as the root user.
Automatically Boot From the Updated CentOS 7 Kernel
Now let’s set the new Kernel as the default Kernel to boot from. We use grub2 to do this. In the previous step, we checked the order of the Kernels. The new Kernel was entry 0 so issue the below command.
grub2-set-default 0Now from the HTML5 console hit the “CNTL+ALT+DEL” button again and the server will boot from your new Kernel. You can always switch between the different Kernels from the boot screen using the HTML5 console. In the event something goes wrong you can even use the rescue mode to revert any changes to your server. Because the HTML5 console uses the internal network you have a permanent connection to your KVM VPS. It’s a good idea to run an FSCK of the server after updating your Kernel. Find out what FSCK is and how to use it.